


Your custom shelves are arrived and now it’s time to fit them! Luckily, installation is quick and simple with the wall battens, wall plugs, and screws we provide. Follow the steps below to transform your airing cupboard into a tidy, functional space.
🔧 What’s Included:
-
Made-to-measure slatted shelf/shelves
-
2 x Wall battens (pre-cut to match your shelf depth)
-
Wall plugs
-
Screws
You’ll just need a few basic tools to get started.
🧰 What You’ll Need:
-
Pencil
-
Tape measure
-
Spirit level
-
Drill ( you'll need a 3mm bit, a 6mm bit and a PZ2 screw bit)
📏 Step 1: Mark the Shelf Height
Decide where you want your shelf to sit. Use a pencil to mark the height on both side walls, a good rule of thumb is to allow around 30–40cm between shelves for towels and bedding. Use a spirit level to draw a straight line at your chosen height on both sides.
📐 Step 2: Fix the Wall Battens
Place a wall batten against the line you’ve marked. These battens will sit on the left and right walls to support the shelf.
-
Hold the batten in place and use the pre-drilled holes to make pilot holes (3mm bit).
-
Use pilot marks to drill 6mm holes.
-
Insert wall plugs (provided).
-
Screw the batten into place.
-
Repeat on the other side.
💡 Tip: Use your spirit level again to double-check the battens are perfectly level with each other before fixing.
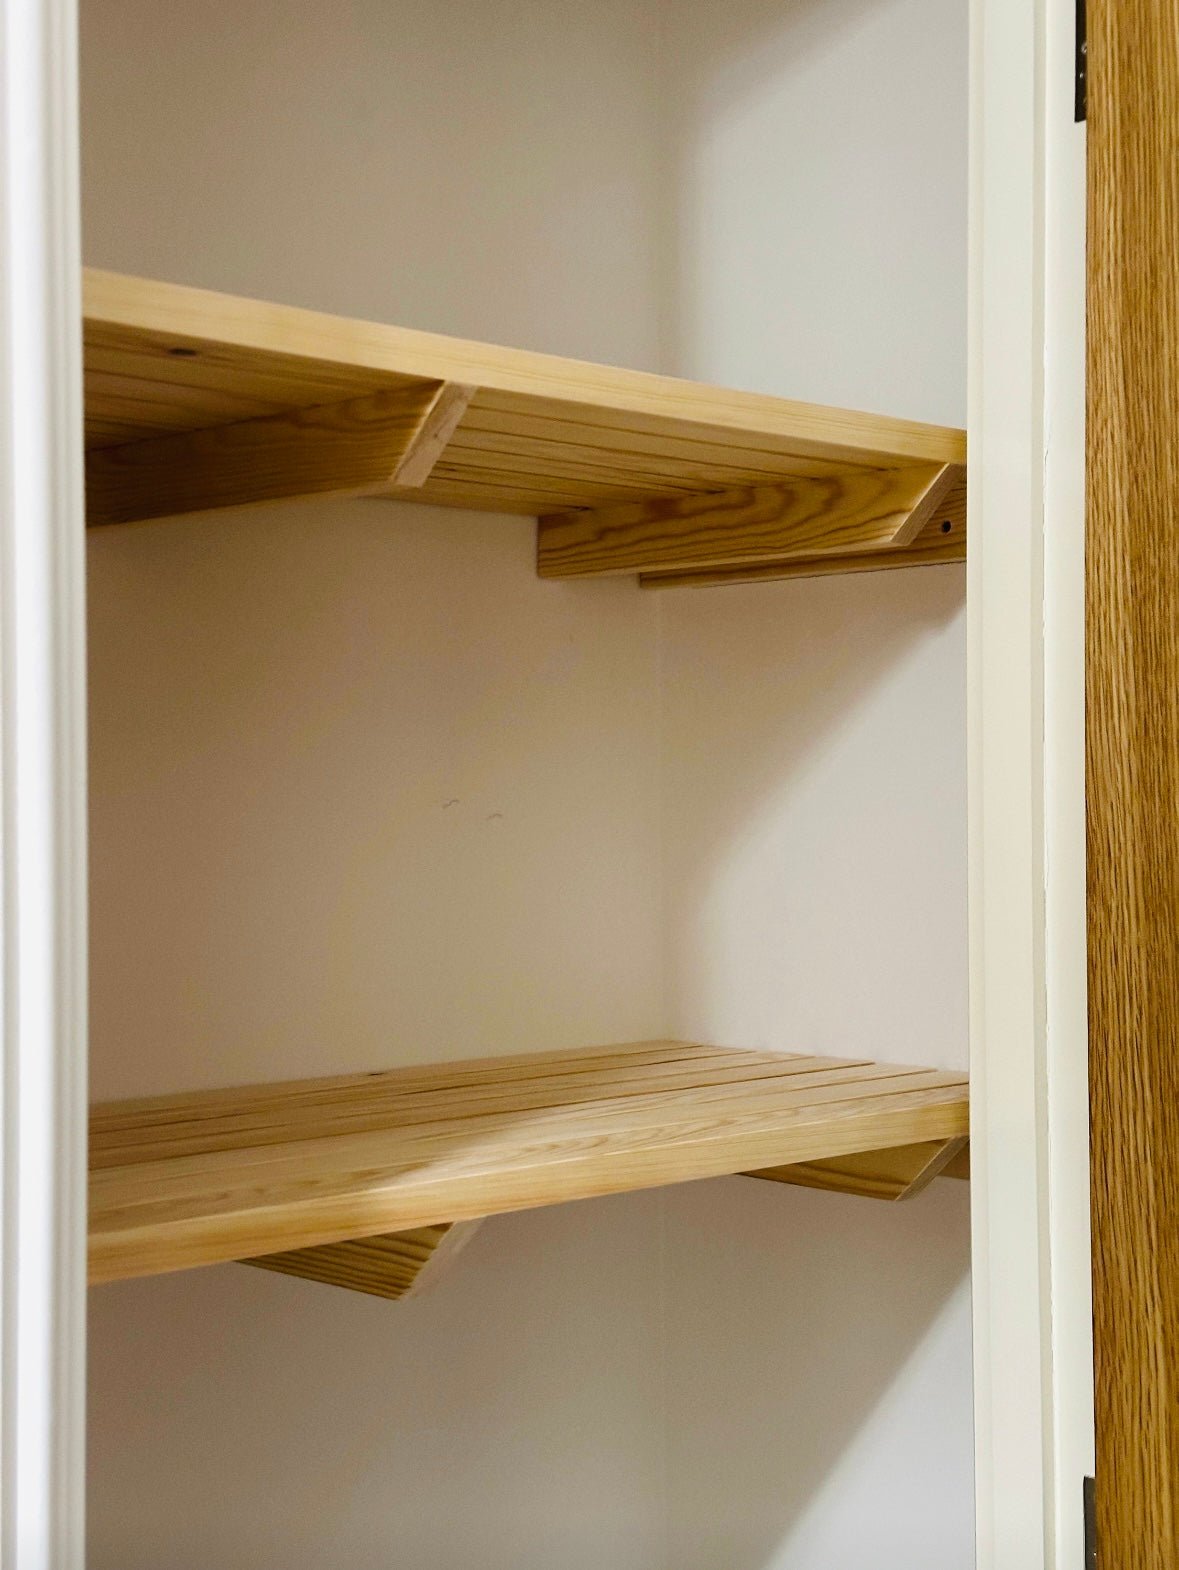
🪵 Step 3: Slot the Shelf In
Now simply place your shelf on top of the battens. Our top tip is to install shelves (if you have one than one) bottom to top.
✅ That’s It!
Your shelf is now ready to use. Whether it’s for towels, bedding, or cleaning supplies, you’ll instantly notice how much more usable your airing cupboard becomes.
Got questions?
Drop us a message or check our FAQs, we’re always happy to help.
How to Install Made-to-Measure Airing Cupboard Shelves
Comment (1)
Can I use hollow wall anchors to fix onto a plasterboard wall ?
Thanks.
Andrew.